In part one, detailed the first few steps of my conversion of a Sega Dinosaur King to a NEO GEO MVS machine. I left the story with an empty rebuilt cabinet. Time to add some internals.
The only electronics I kept was the original CRT monitor, of course. It’s a 15KHz display so ideal for a JAMMA conversion. That meant keeping the 240v to 120v isolation transformer. All of the rest of the contents went, including the power supply board, the game board, original control panel and the coin mechanism. That creates a lot of space in the cabinet. One of the original internal wooden panels became the new home for a switching power supply.
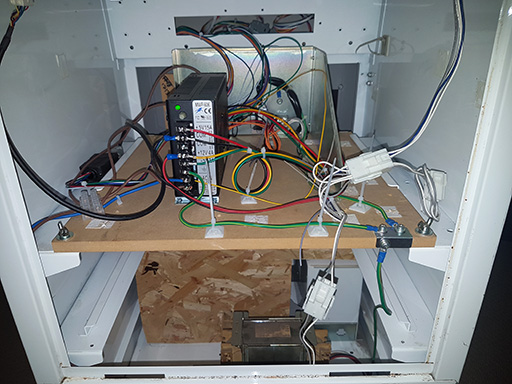
And I added a new vertical board at the front to replace some of the metalwork I’d removed as the place to mount the MVS pcb. I took a decision that all the wiring I added would be connected in a way that would make the various pieces easy to remove if I ever needed to for maintenance. That means either plugs and sockets or screw terminals. Nothing soldered in place. Lots of zip-ties helped to keep it tidy.
I mounted an MV1B at the front so that cartridges could be changed by opening the front door. Access to the back will not normally be needed. I also added an extra power switch to the front panel that allowed the switching supply to be operated separately for the same reason.
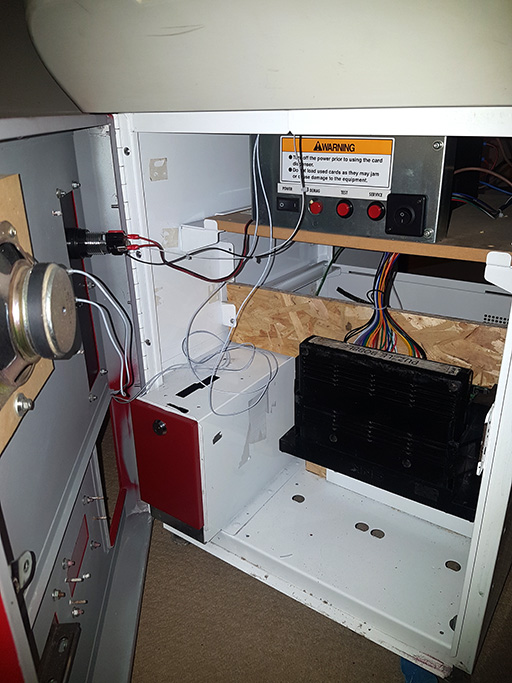
And the was one other bit of electronics that I kept. The speaker as it was compatible with the NEO GEO. I also wired in the replacement coin switch. As some point I’ll cut an inch or so of the top of the vertical panel and add another horizontal panel where the old panel was. This will allow alternative pcbs to be put in the machine. Although I’m stuck with a horizontal monitor and that limits the game choices.
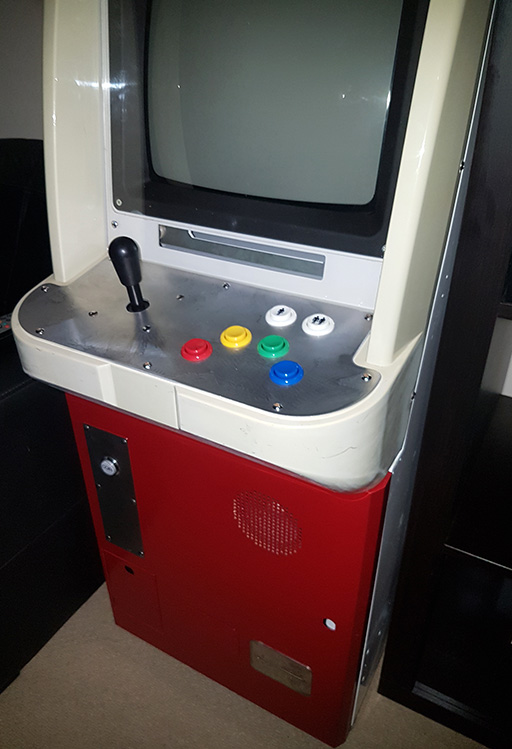
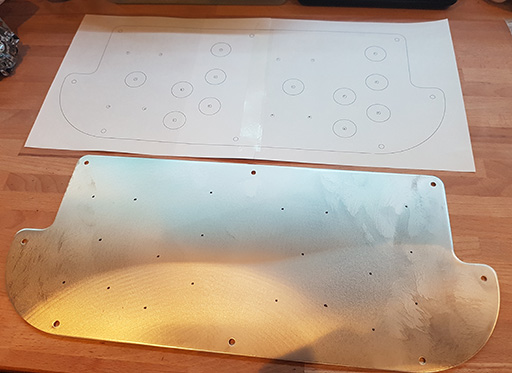
As well as the one player control panel, I also have a two player control panel. A wooden prototype I made while waiting fro the metal panels to arrive showed that there would n’t be a lot of panel between the buttons on the two player panel. It weakened the structure a lot. I went with smaller buttons for that panel. There was a fair bit of drilling to get the panel made up.
I’ll finish this part with look at the wiring of the control panel. As the plan was to make this a NEO GEO machine, it made sense to me to use the NEO GEO DB15 wiring for the connection. That makes it easy to swap control panels and also keeps to my rule about being able to take things apart for maintenance. I can remove the whole psu panel and wiring harness in one go just be unplugging or unscrewing
.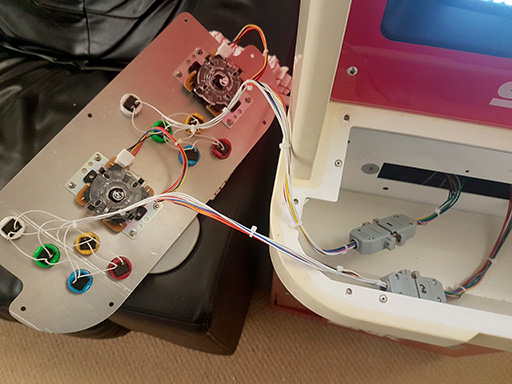
Again, lot’s of zip-ties to the rescue to keep it neat. And that image also gives a glimpse of the artwork that went on it. Which I’ll talk about in Pt. 3.