
In September 2020, just before the start of what would be a full academic year under the Covid restrictions that would mean working from home and doing all my teaching remotely, I purchased a Sega Dinosaur King from ebay. The game is aimed at kids and involves using cards with a magnetic stripe to battle dinosaurs against each other. Sega made money from both the sale of the machine and the cards. To stop operators from using fake cards each pack of cards comes with a token. When Sega stopped selling the cards and tokens, the games essentially became useless and have mostly been sold off by operators. They have been snapped up by collectors like me, not to preserve the game, but because they have an ideal form factor to use as the basis of a conversion to another game. Search and you will find all manner of conversions of classic 80s and 90s. games. This is not a conversion of the game, as although the game boots from sd card, there’s only a couple of other games that use the same hardware and they have similar token issues.
I wanted to add a dedicated NEO-GEO MVS system to my collection, but don’t have room for another full-size cabinet. But I do have room for a Dino King. It’s taken 11 months to complete the conversion. Not because I did n’t know what I wanted to do or could n’t get the parts, but because I’ve only worked on it occasionally. But it’s done now and this is the story. The first task was to strip the cabinet down and give it a clean.
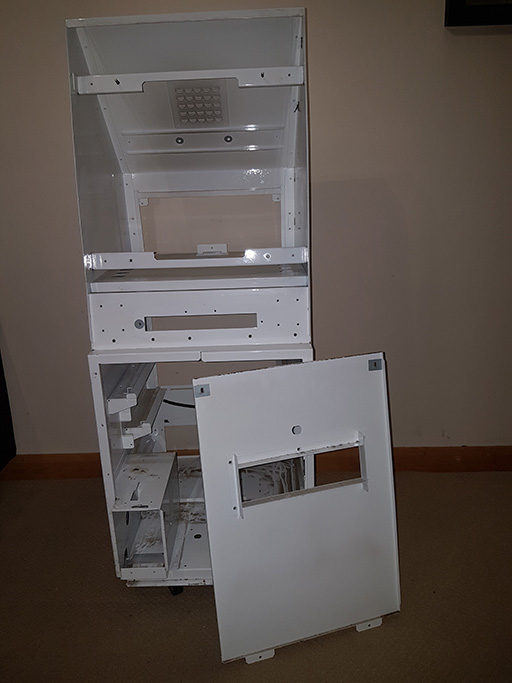
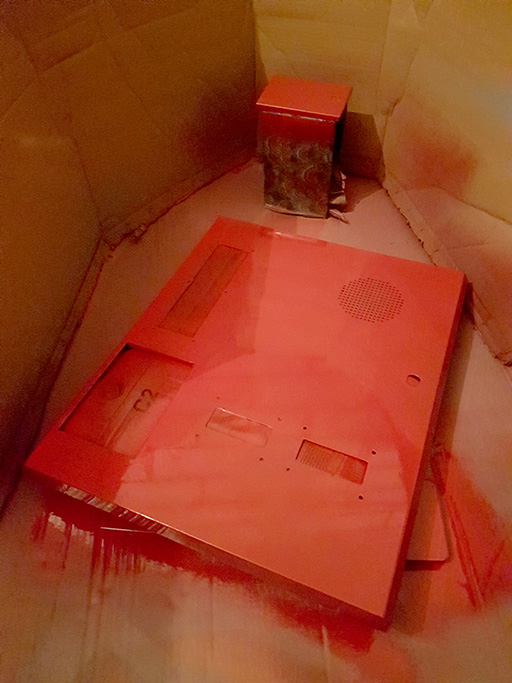
I wanted to keep most of the cabinet the original white. I considered getting the whole thing dipped and either powder-coated or re-sprayed. But I like cabinets to show that they have had a life, to preserve some of the history, not look like they’ve just left the showroom. I did however strip and respray the front door. I did n’t like the idea for just a vinyl panel on the door, even if it would match the original. It door also had the worst wear so needed some tidy-up.
At the same time, I did some cad work to produce a blank control panel and a replacement coin door. The coin door had a single hole for a button, which would be filled with an illuminated Coin-Up button. The coin door was made up in steel the same thickness that the original and sprayed black.
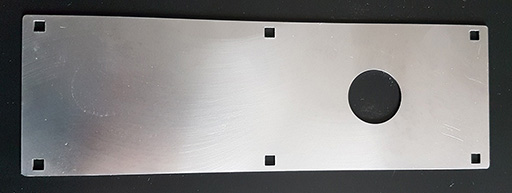
The control panel was aluminum and a few mm thick to give it a similar thickness to the original. The choice of aluminium made it practical to drill out the needed holes. I doubt I would have been able to do that with steel.
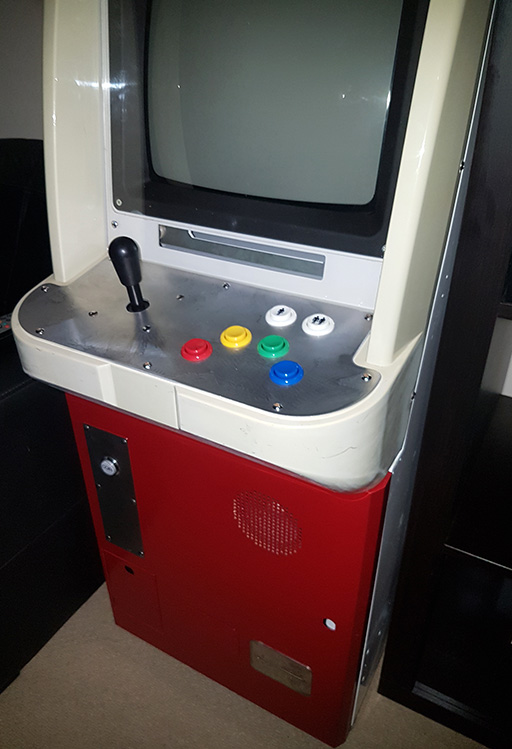
The overall result was the image below, fitted with a single player control panel. Now all it needs is the internals and some artwork. I’ll cover the new internals in Pt. 2.